Installing KnowIT on PC
Learn how to Install KnowIT on Employee PCs
What we'll be doing
- Downloading KnowIT
- Running The KnowIT Installer
- Activating KnowIT
- Configuring Exclusions
- Viewing your data
Step 1 - Downloading KnowIT
- Login to your KnowIT Portal at https://portal.digitalendpoint.com
- On the Popup that appears, click Install KnowIT
- If you don't see the popup, go to Tools > Install Device Software
- Select Windows as your device
- Next, select the computer which you are installing KnowIT on. For this guide, we will select 'This computer'
- Click the download link
Step 2 - Run the KnowIT installer
- Once the download is finished, open the Downloads folder and locate the installer package you downloaded earlier
- Right click > Run as Administrator
- The KnowIT Installer will appear
- Follow the installation wizard
- Once the installation is complete, click "Close"
Step 3 - Activate KnowIT
The activation screen should now appear
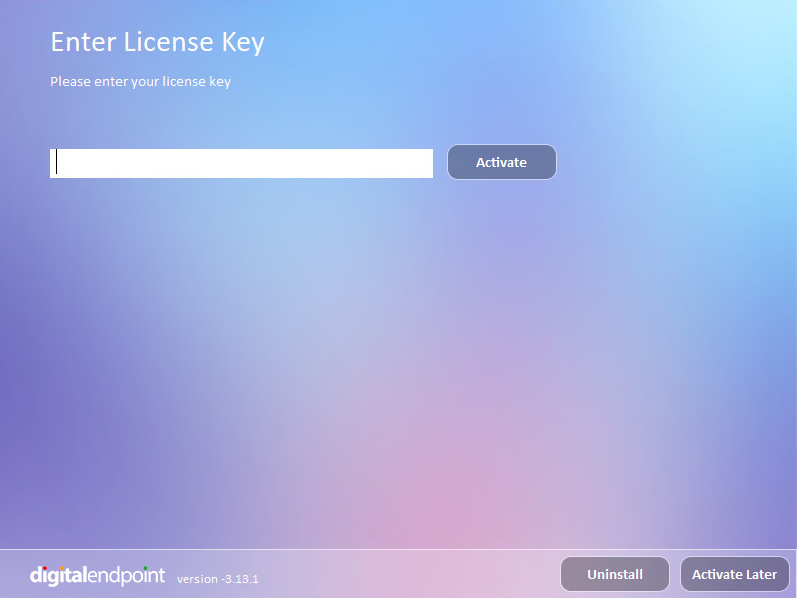
- Type in your KnowIT license key and then click "Activate".
- To locate your activation key, Open your KnowIT portal > Click the Menu > Tools > Your Licenses > Available
- Once KnowIT has been activated it will be hidden automatically and will run in the background. Click 'OK'.
- Congratulations! You have successfully activated KnowIT
Step 4 - Configuring Exclusion
If your computer uses anti-virus software, you must configure file and folder exclusions
Step 5 - Viewing your data
Login to your KnowIT account and to start seeing your employee monitoring data
 If you wish to deactivate or uninstall or deactivate KnowIT at any point, read this